CÓMO HACER UN MAQUILLAJE PARA DAMAS DE HONOR
Las bodas son una celebración del amor y, como dama de honor, eres una parte clave para ayudar a rendir homenaje al gran día. Cuando estás enfocada en celebrar a la pareja, no quieres preocuparte por tu maquillaje de dama de honor. Encontrar el equilibrio adecuado entre verte lo mejor posible y complementar a la novia puede ser complicado, pero no te preocupes. En esta guía, encontrarás toda la inspiración que necesitas para crear impresionantes estilos de maquillaje para damas de honor que sean elegantes y duraderos, para que puedas concentrarte en la boda sin dejar de lucir increíble.
Consejos de maquillaje para damas de honor
Antes de profundizar en un tutorial con inspiración de maquillaje para damas de honor, veamos algunos consejos esenciales para lograr un maquillaje perfecto para las damas de honor.
Consejo 1: Mantén la simpleza
El objetivo es mejorar tu belleza natural, no llamar la atención sobre tu maquillaje con estilos llamativos (a menos que la boda tenga un tema único). Opta por un estilo clásico y atemporal que no choque con el tema de la boda. Un estilo de maquillaje simple para damas de honor siempre es una apuesta segura y elegante.Consejo 2: Piensa en la duración
Las bodas son eventos que se extienden por mucho tiempo, llenos de fotos, bailes y momentos emotivos. Lo mejor será que tu maquillaje dure desde la ceremonia hasta el último baile. Elige productos de maquillaje resistentes al agua y de larga duración y no olvides fijar el maquillaje correctamente. Considera llevar algunos productos en tu cartera para hacer algunos retoques si fuera posible.Consejo 3: Ten en cuenta a la novia y al tema
Es crucial considerar las preferencias de la novia y el tema general de la boda. Habla con la novia sobre su visión y ajusta tu maquillaje según corresponda. Considera el esquema de colores y el color de tu atuendo de dama de honor.Consejo 4: Incorpora tu propio estilo
Si bien es importante ser consciente de los deseos de la novia, aún debes sentirte como tú misma. Encuentra maneras de incorporar tu estilo personal al look, ya sea a través de un toque de color o un ojo ligeramente más audaz.
Tutorial de maquillaje neutro para damas de honor
En este tutorial detallado de maquillaje para damas de honor, encontrarás una guía para crear un hermoso y natural estilo de maquillaje para damas de honor que sea perfecto para cualquier boda.
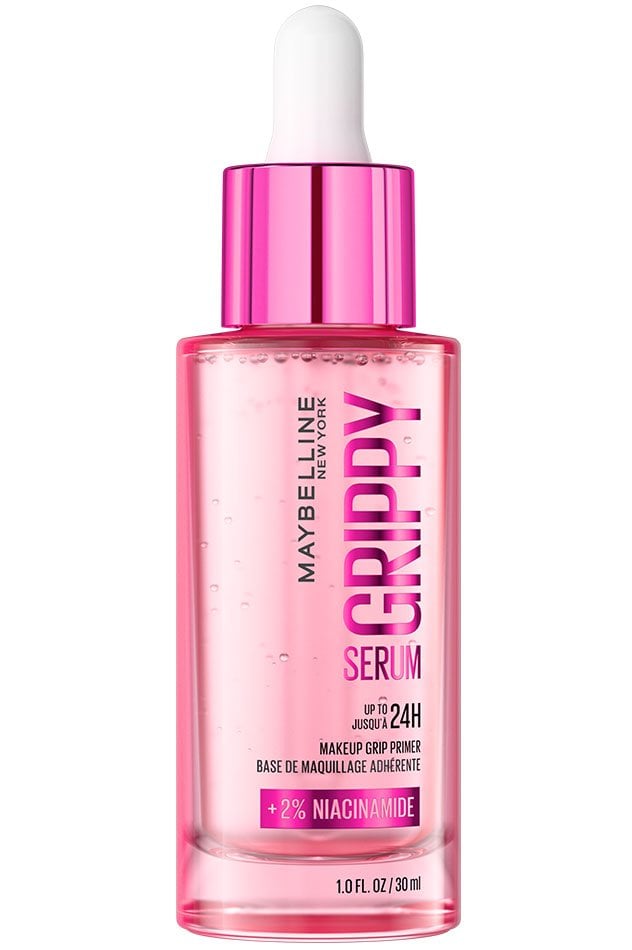
Paso 1: Primer
Comienza con un rostro limpio y humectado y dale tiempo al humectante para que se absorba antes de comenzar tu maquillaje. Aplica un primer para crear un lienzo suave para tu maquillaje y prolongar su duración. Para asegurarte de que tu maquillaje dure toda la boda, te sugerimos que uses un primer con poder de agarre como Grippy Serum™ Up To 24HR Hydrating Grip Primer.- Clear

Paso 2: Cejas
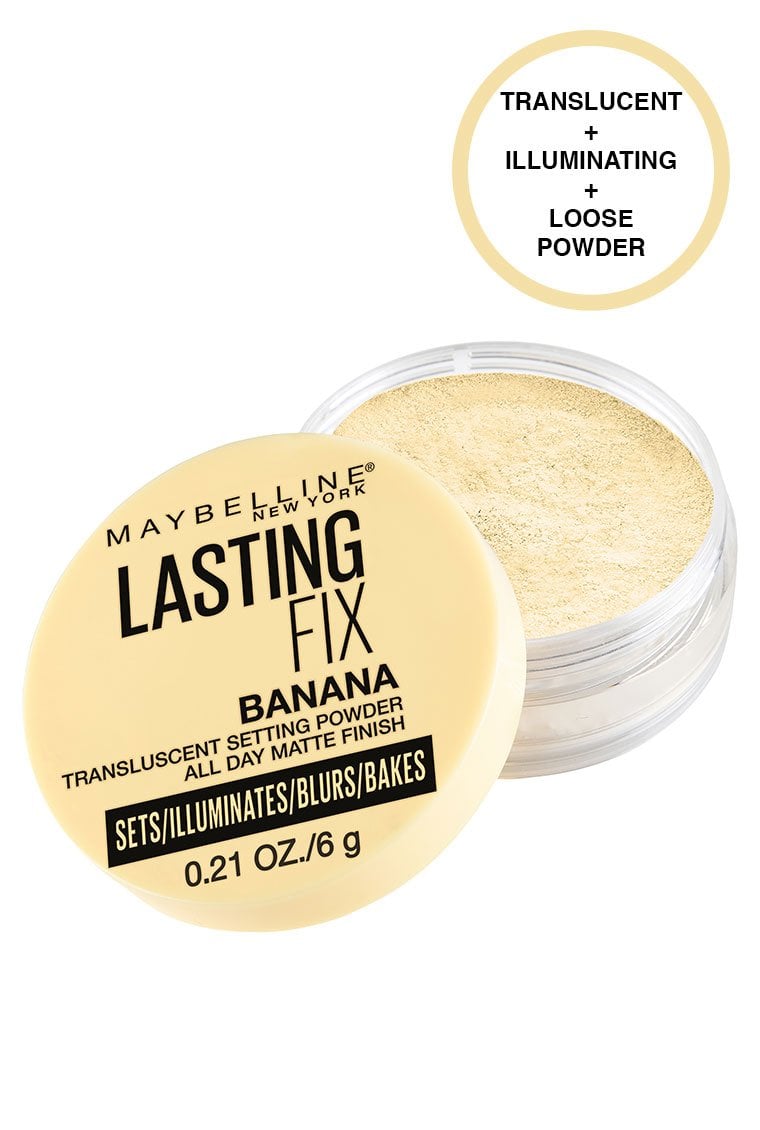
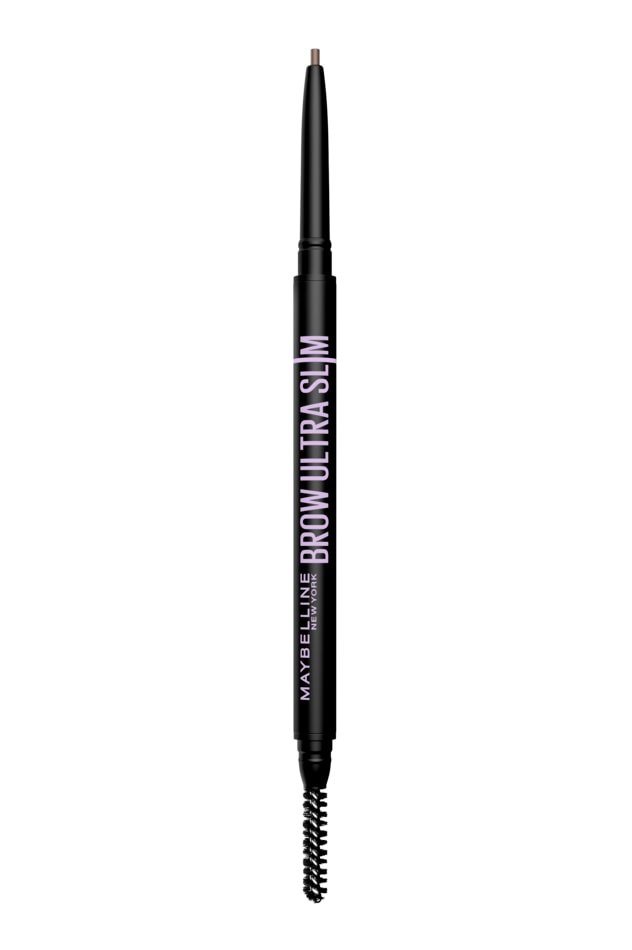
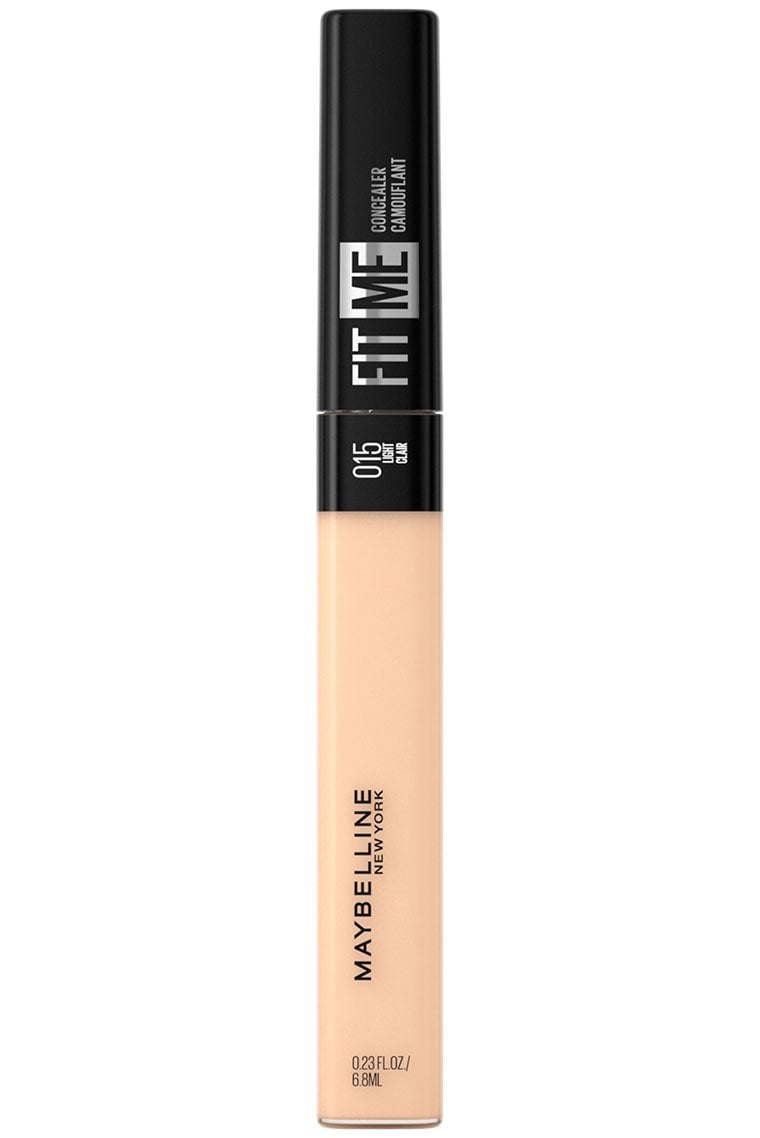
Puedes comenzar usando una cera para cejas de tu elección para cepillarte las cejas antes de rellenarlas. Si no’ tienes cera para cejas o no’ deseas usarla, puedes omitir este paso y cepillarte las cejas con un cepillo con púas limpio para definir el pelo de las cejas e identificar áreas escasas. A continuación, rellena tus cejas con Express Brow™ Ultra Slim Defining Eyebrow Pencil, con movimientos cortos y similares a los del pelo. Da forma a tus cejas con el cepillo con púas que viene con el producto.Luego usa el corrector Fit Me® Concealer para perfilar las cejas y difumina el corrector hacia abajo para obtener una base de la sombra de ojos. Fija la base de maquillaje de ojos con Lasting Fix® Banana Powder Loose Setting Powder.
- Medium Brown
- Light
- Banana

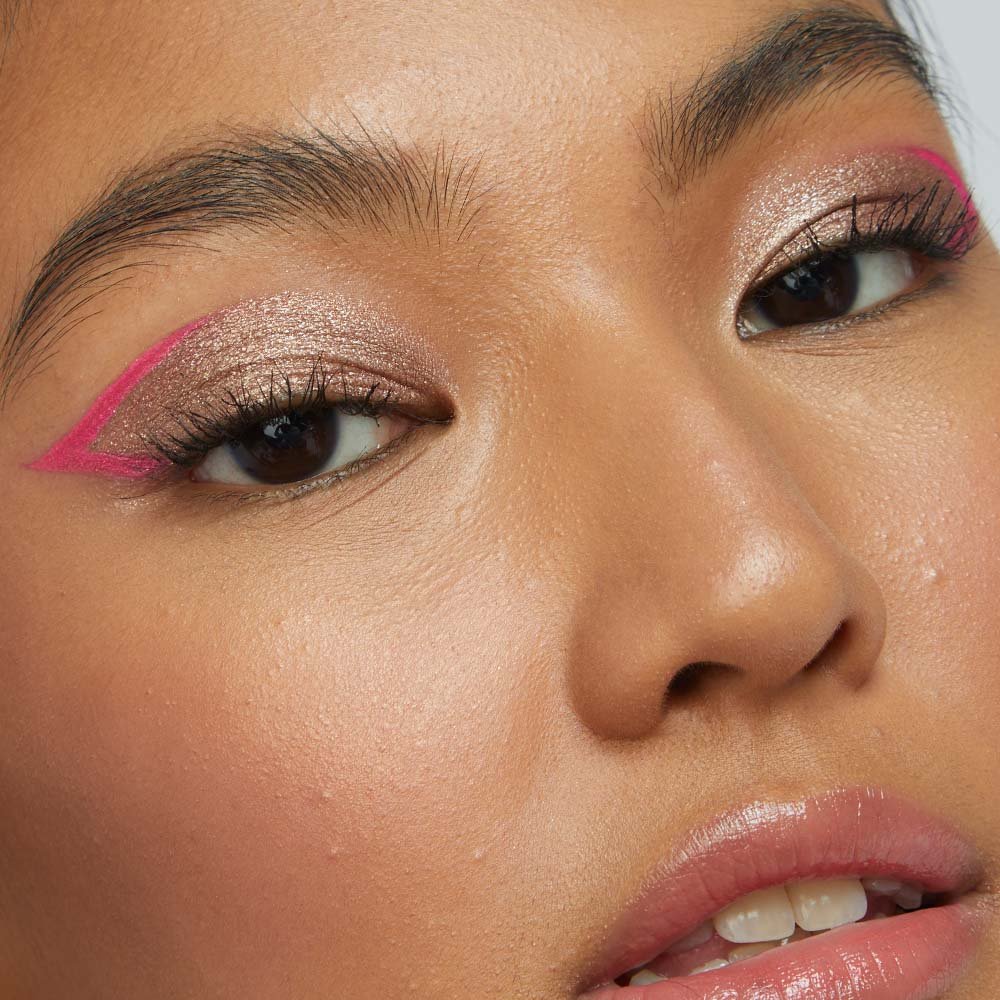
Paso 3: Sombra y delineador de ojos
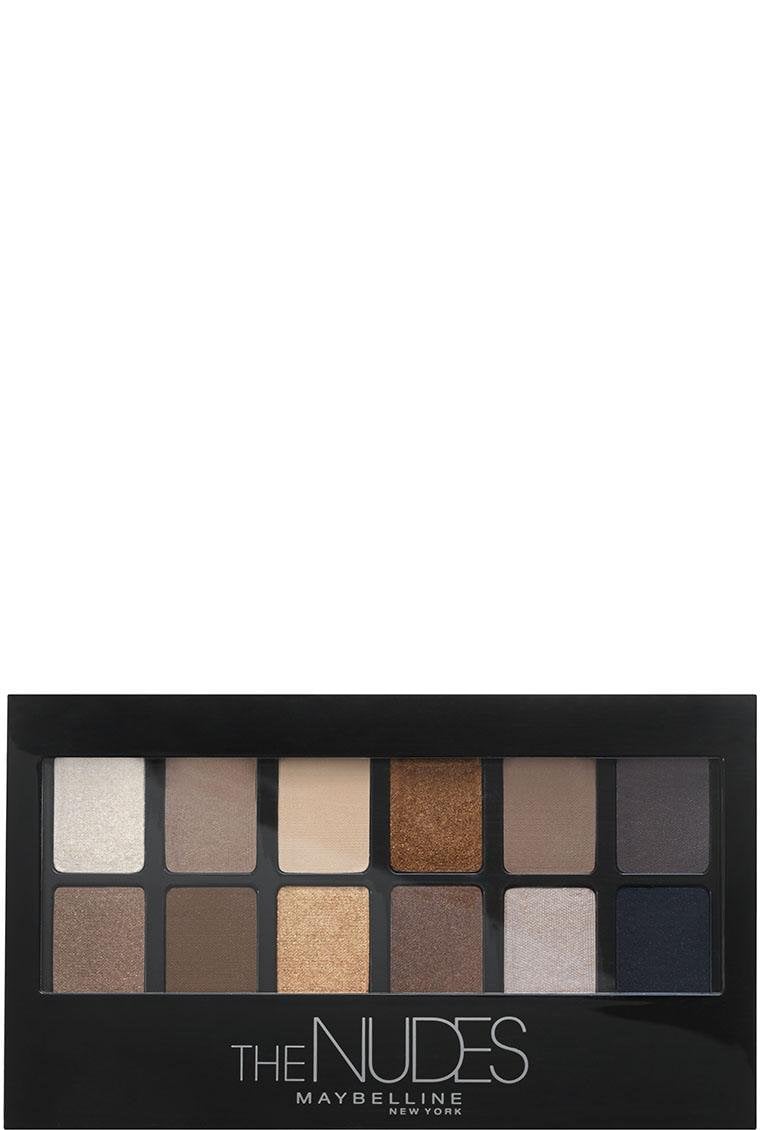
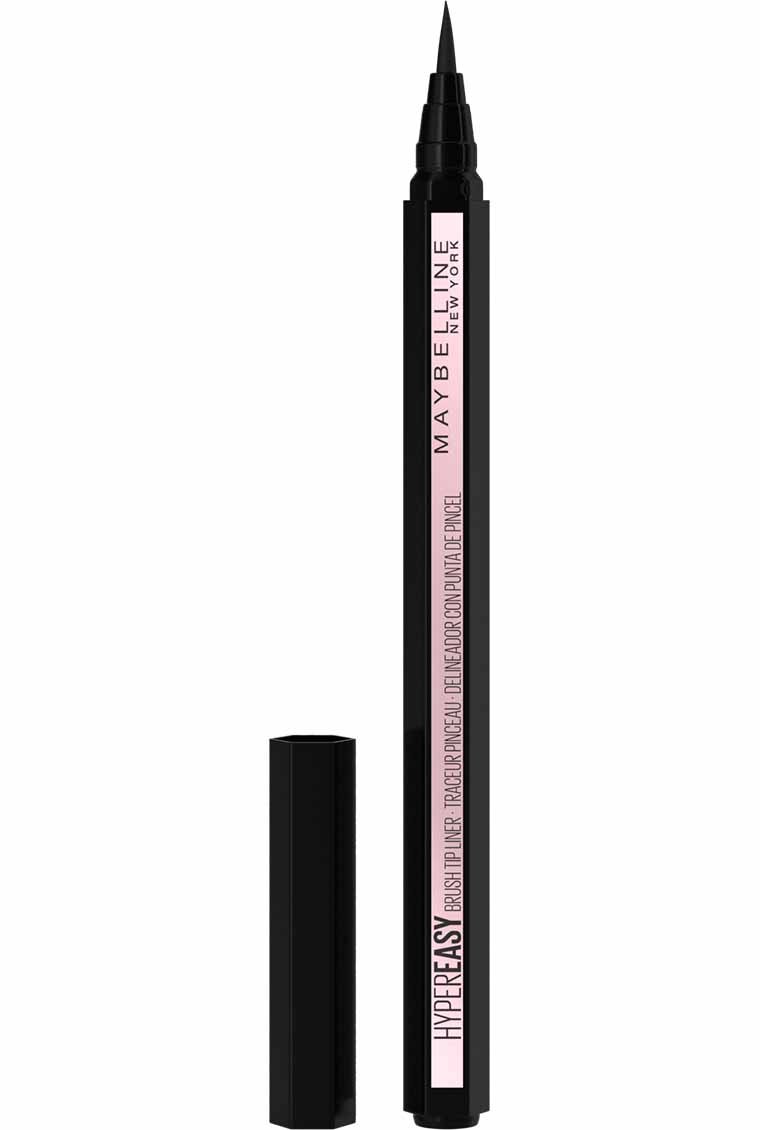
Usa una paleta de sombras de ojos neutras con tonos mate y brillantes como The Nudes Eyeshadow Palette. ¡Queremos crear un estilo de maquillaje neutro para damas de honor que complemente sin esfuerzo cualquier tema de boda! Comienza con un color base claro en todo el párpado mientras pules hacia afuera, luego agrega un tono ligeramente más oscuro en el tercio exterior del pliegue para obtener dimensión y difumina bien. Aplica un poco de corrector en el centro del párpado con el dedo y difumina. Aplica un tono más claro en el medio de los párpados para fijar el corrector. Con un color más oscuro, agrega un ala ahumada y difumina. Por último, usa un tono brillante en la esquina interna de los ojos para iluminarlos.Para el delineado de ojos, usa Hyper Easy® Liquid Eyeliner a lo largo del párpado superior y extiéndete ligeramente más allá del exterior del ojo para lograr un ala discreta. Si lo deseas, aplica un poco de delineador de ojos en la esquina interna.
- Eye Shadow Palette
- Pitch Black
Paso 4: Máscara
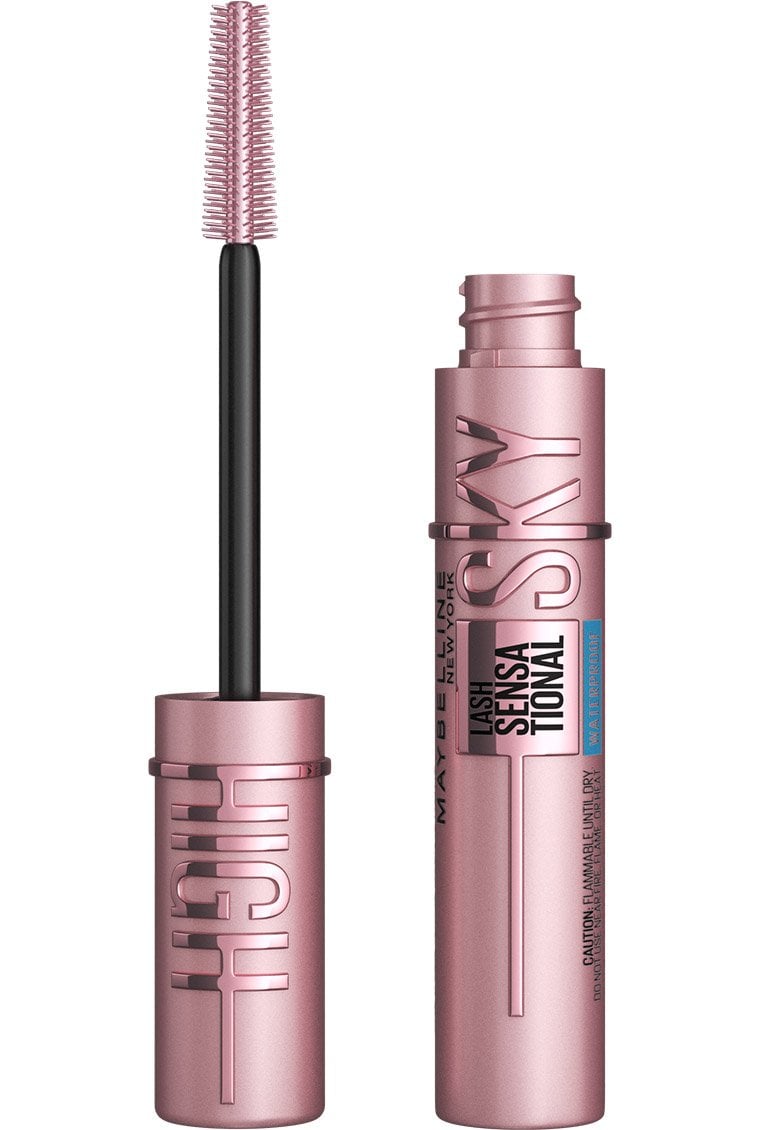
Termina tu look de ojos con la aplicación de algunas capas de la máscara a prueba de agua Lash Sensational Sky High®. Recomendamos usar máscara a prueba de agua para una mayor duración, de modo que el maquillaje de tu boda no se corra si lloras de felicidad ni durante el baile.- Very Black
Paso 5: Base
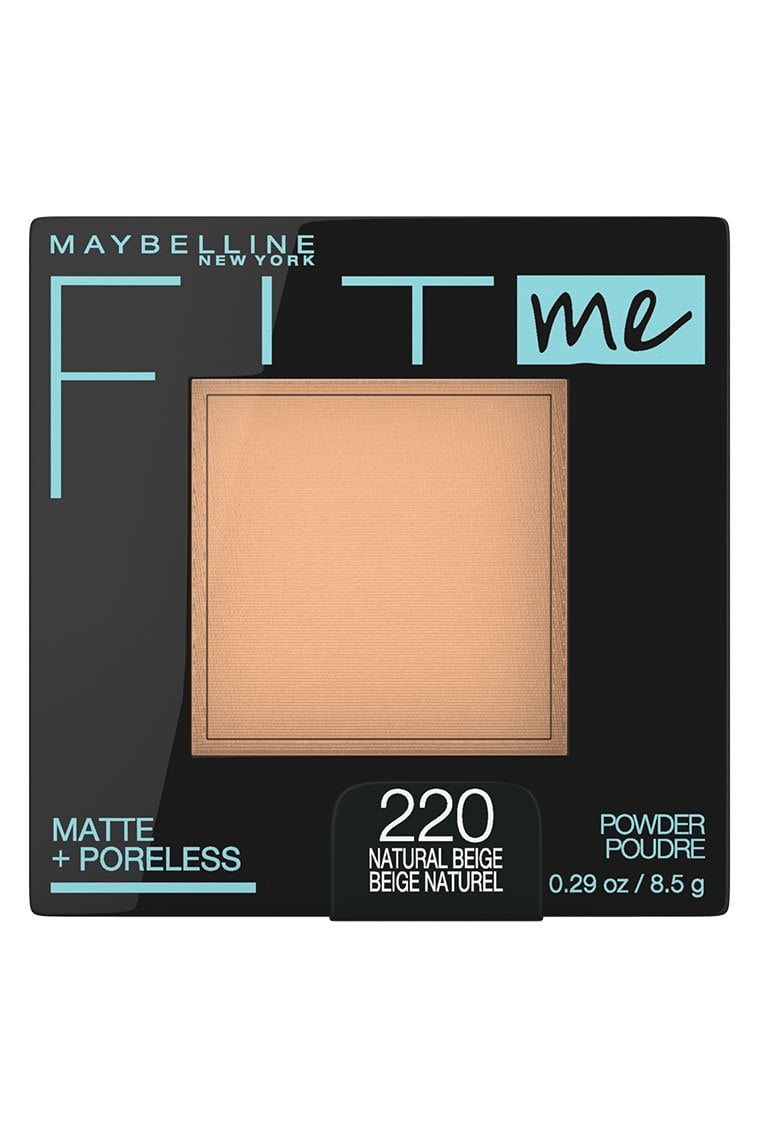
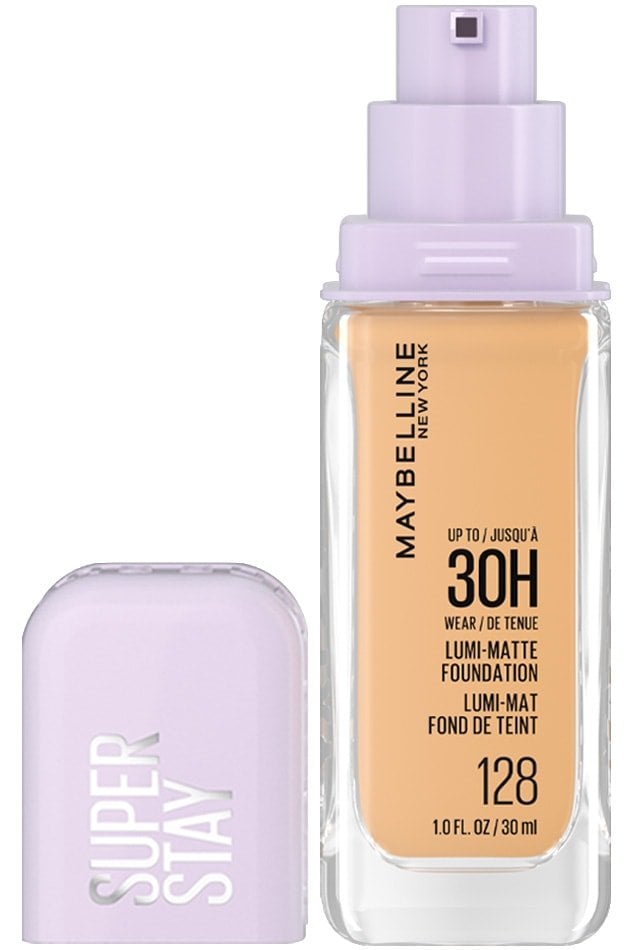
Cuando se trata de la base, elige un producto que tenga un acabado mate y que ’no refleje en las cámaras, ya que en las bodas las fotos son muy importantes. Recomendamos Fit Me® Matte + Poreless Powder Foundation para emparejar el tono de tu piel y evitar el brillo. Difumina bien para lograr un acabado uniforme. Si prefieres un acabado mate ligeramente luminoso, utiliza nuestra Super Stay® Lumi-Matte Foundation.Consejo profesional: ¡Difumina tu base también en el cuello para evitar líneas marcadas en las fotos!
- Natural Beige 220
- 128
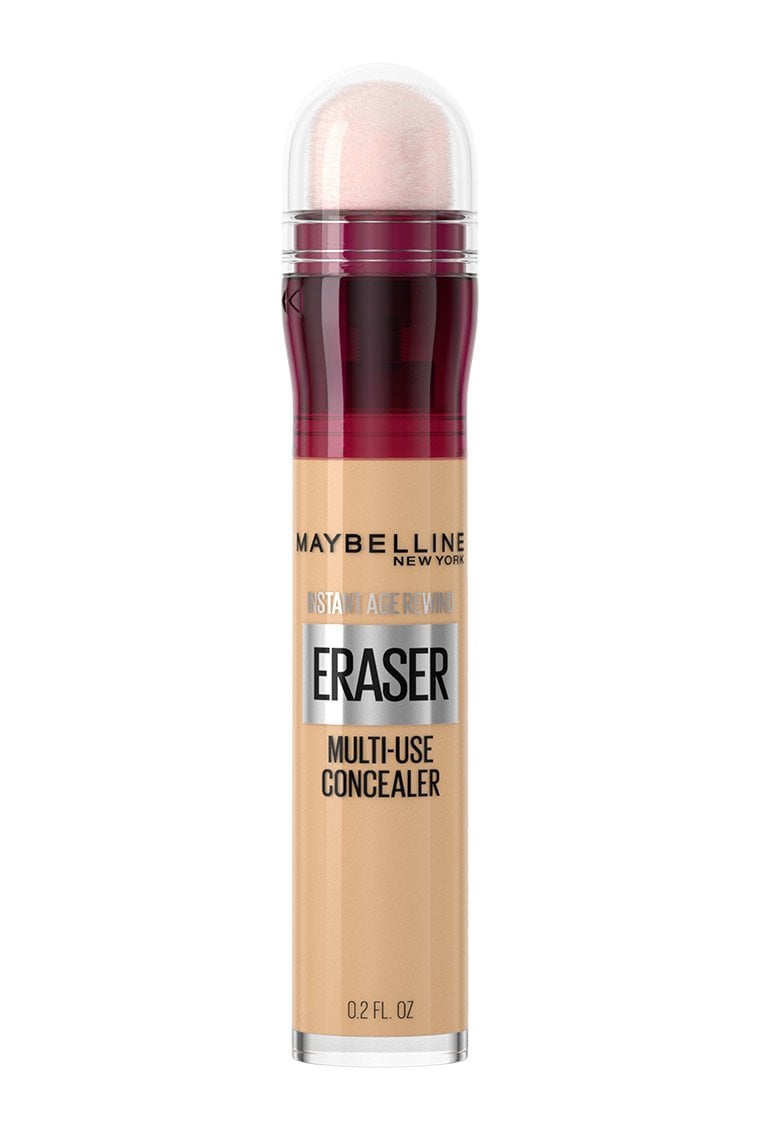
Paso 6: Corrector
Usa tu corrector para cubrir cualquier imperfección u ojera debajo de los ojos. Aplica debajo de los ojos, en el puente de la nariz y en la frente entre los ojos para iluminar las áreas clave de tu rostro. Difumina bien hacia arriba con una esponja o con el dedo para lograr un efecto de levantamiento.- 122
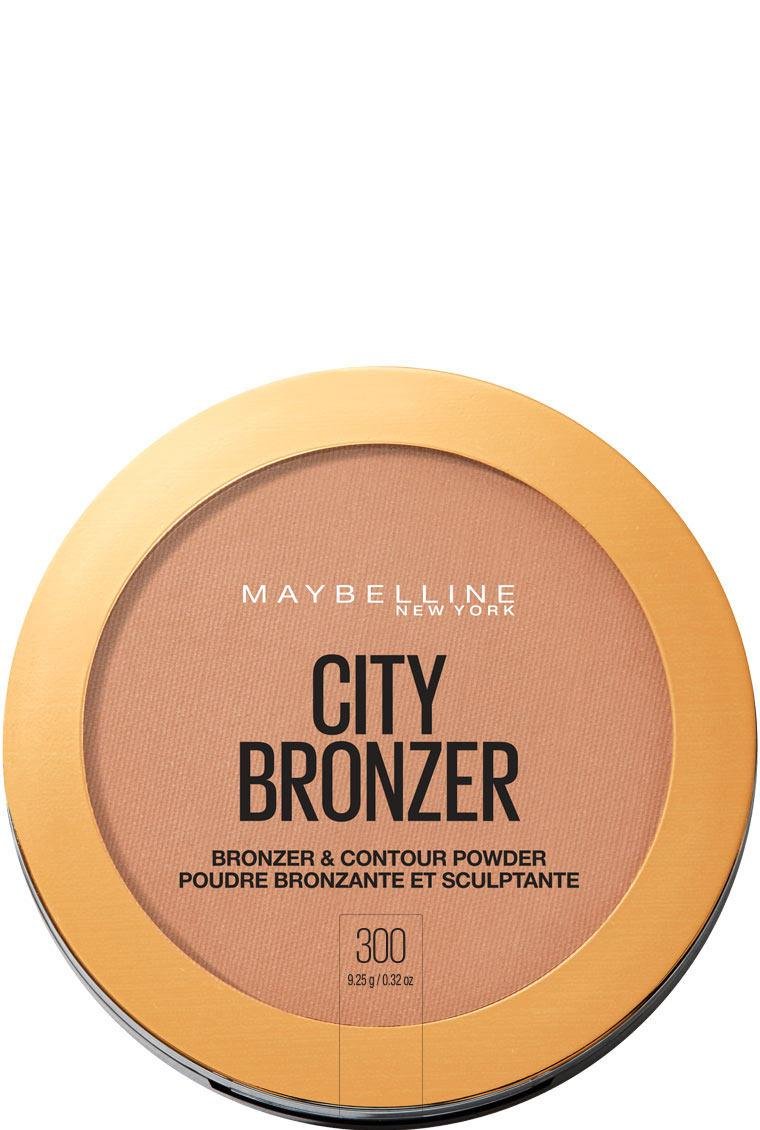
Paso 7: Contornea
Aplica City Bronzer® Bronzer & Contour Powder en los huecos de las mejillas, las sienes y la mandíbula. Difumina bien con un pincel para crear un efecto de sombra natural.Luego, aplica polvo de banana debajo de los ojos, comenzando desde la nariz y aplícalo hacia afuera, presionando sobre la piel. Déjalo que se fije durante 30 segundos a un minuto y retira el exceso con un cepillo. Esto agregará luz a tu rostro y te ayudará a lucir resplandeciente en las fotos.
- Deep
- Banana
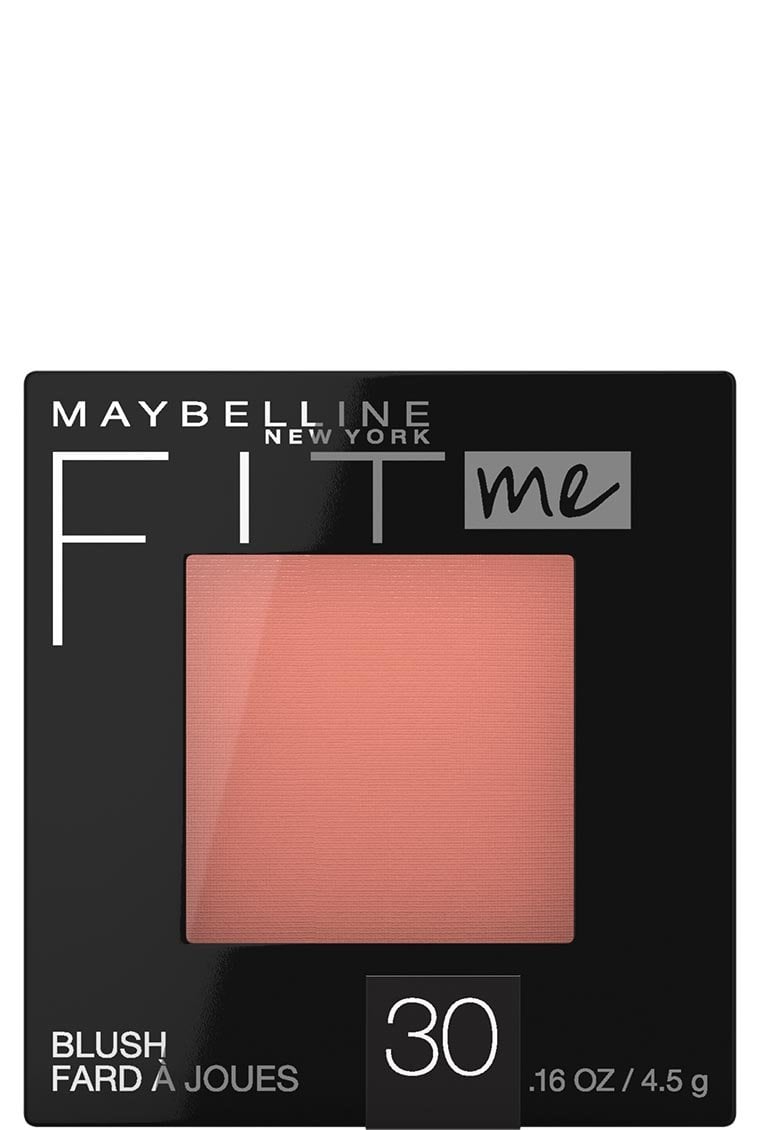
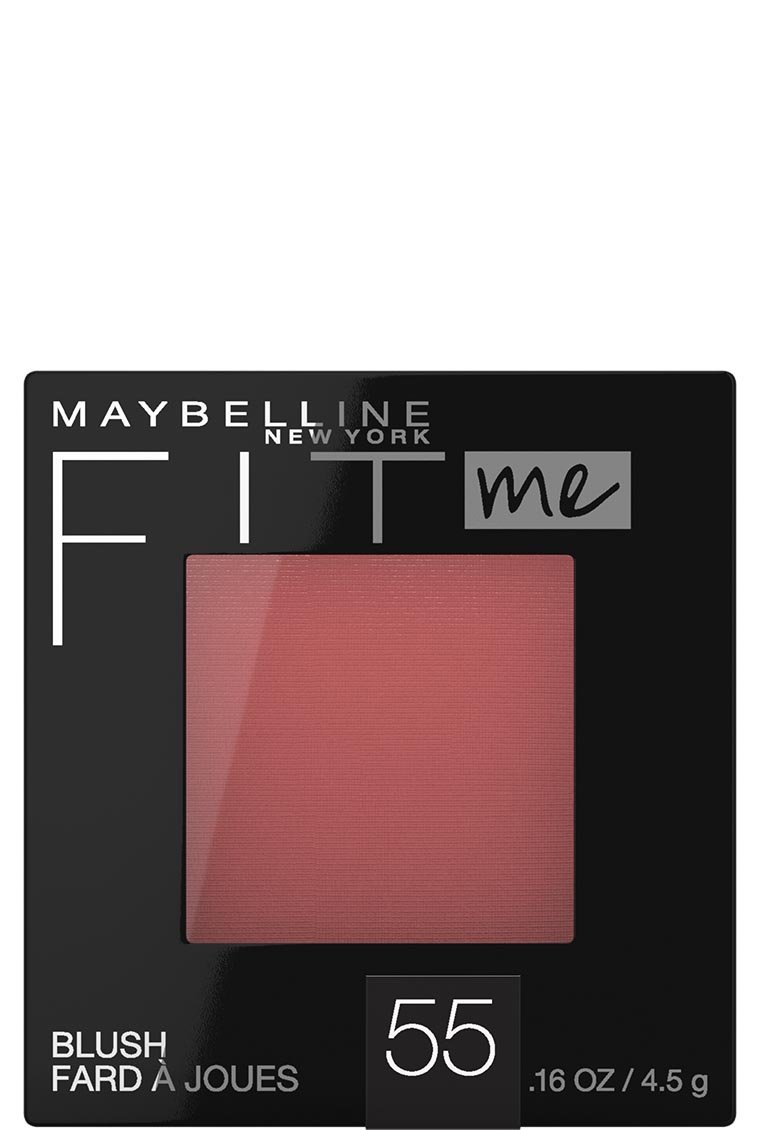
Paso 8: Rubor
Para este estilo, selecciona dos colores de rubor Fit Me® Blush en polvo que combinen bien con tu tono de piel natural, uno más claro y otro más oscuro. Aplica el color más claro del rubor en las manzanas de las mejillas. Luego usa el tono más oscuro donde normalmente colocarías el bronzer, un poco más arriba y hacia la línea del cabello.- Rose
- Berry
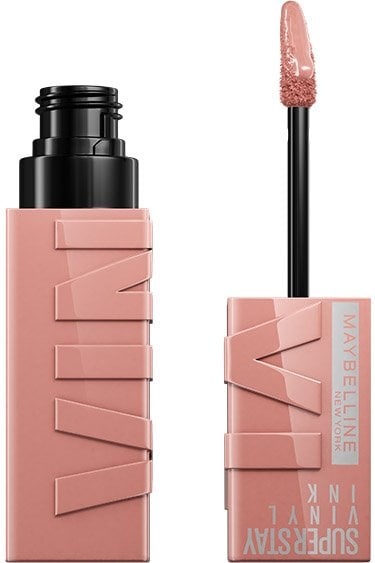
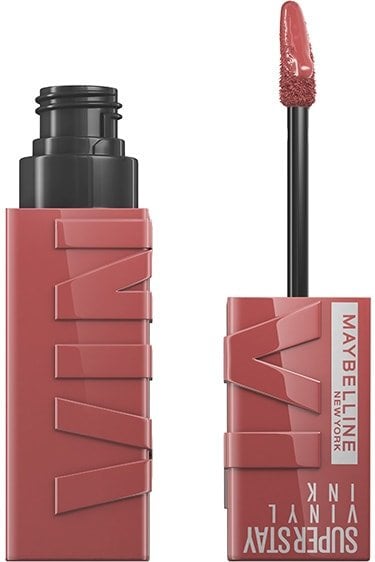
Paso 9: Labios
Para un color de labios duradero, recomendamos Super Stay® Vinyl Ink® Longwear Liquid Lipstick. Para complementar tu look de rubor con efecto degradé de dos tonos, elige dos tonos de lápiz labial natural, uno ligeramente más oscuro y otro ligeramente más claro. Aplica el color más oscuro en tus labios. Luego aplica el color más claro solo en el centro de los labios y difumina para lograr un estilo de labios con efecto degradé.- Captivated
- Cheeky

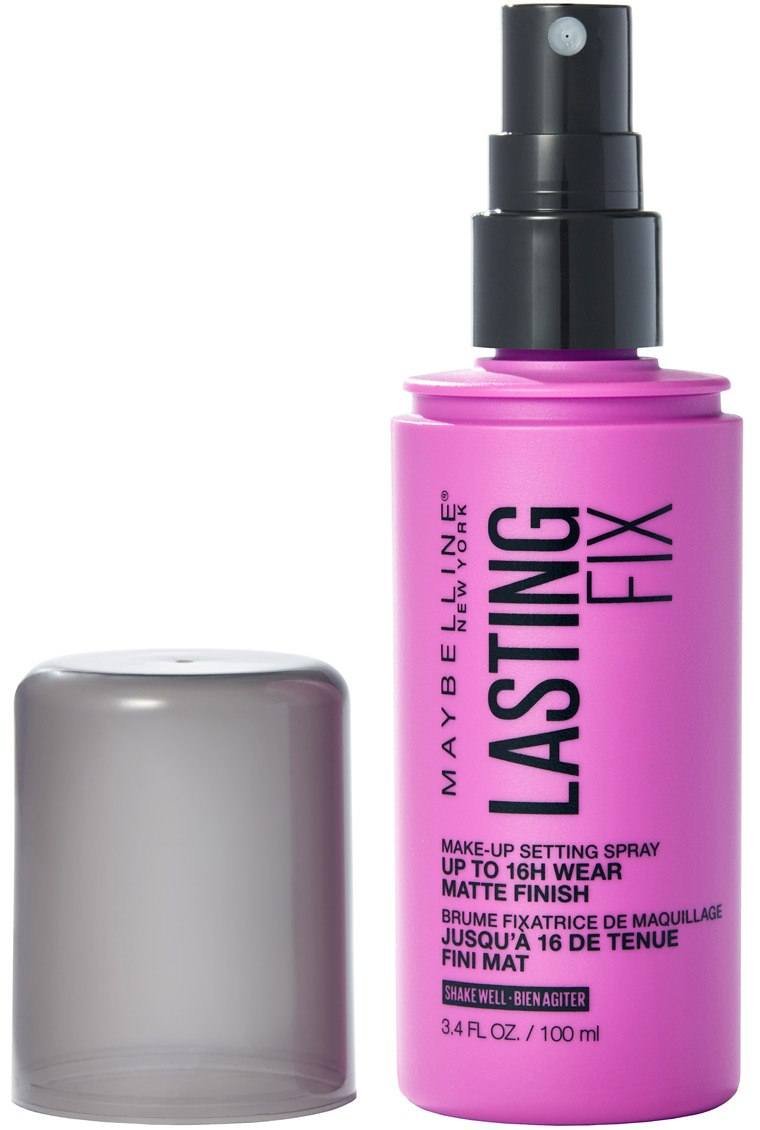
Paso 10: Rocía y fija
Fija tu maquillaje al finalizar con un aerosol fijador para que se mantenga fresco todo el día. ¡Este paso es importante para que el maquillaje no se corra durante toda la boda!- Lasting Fix
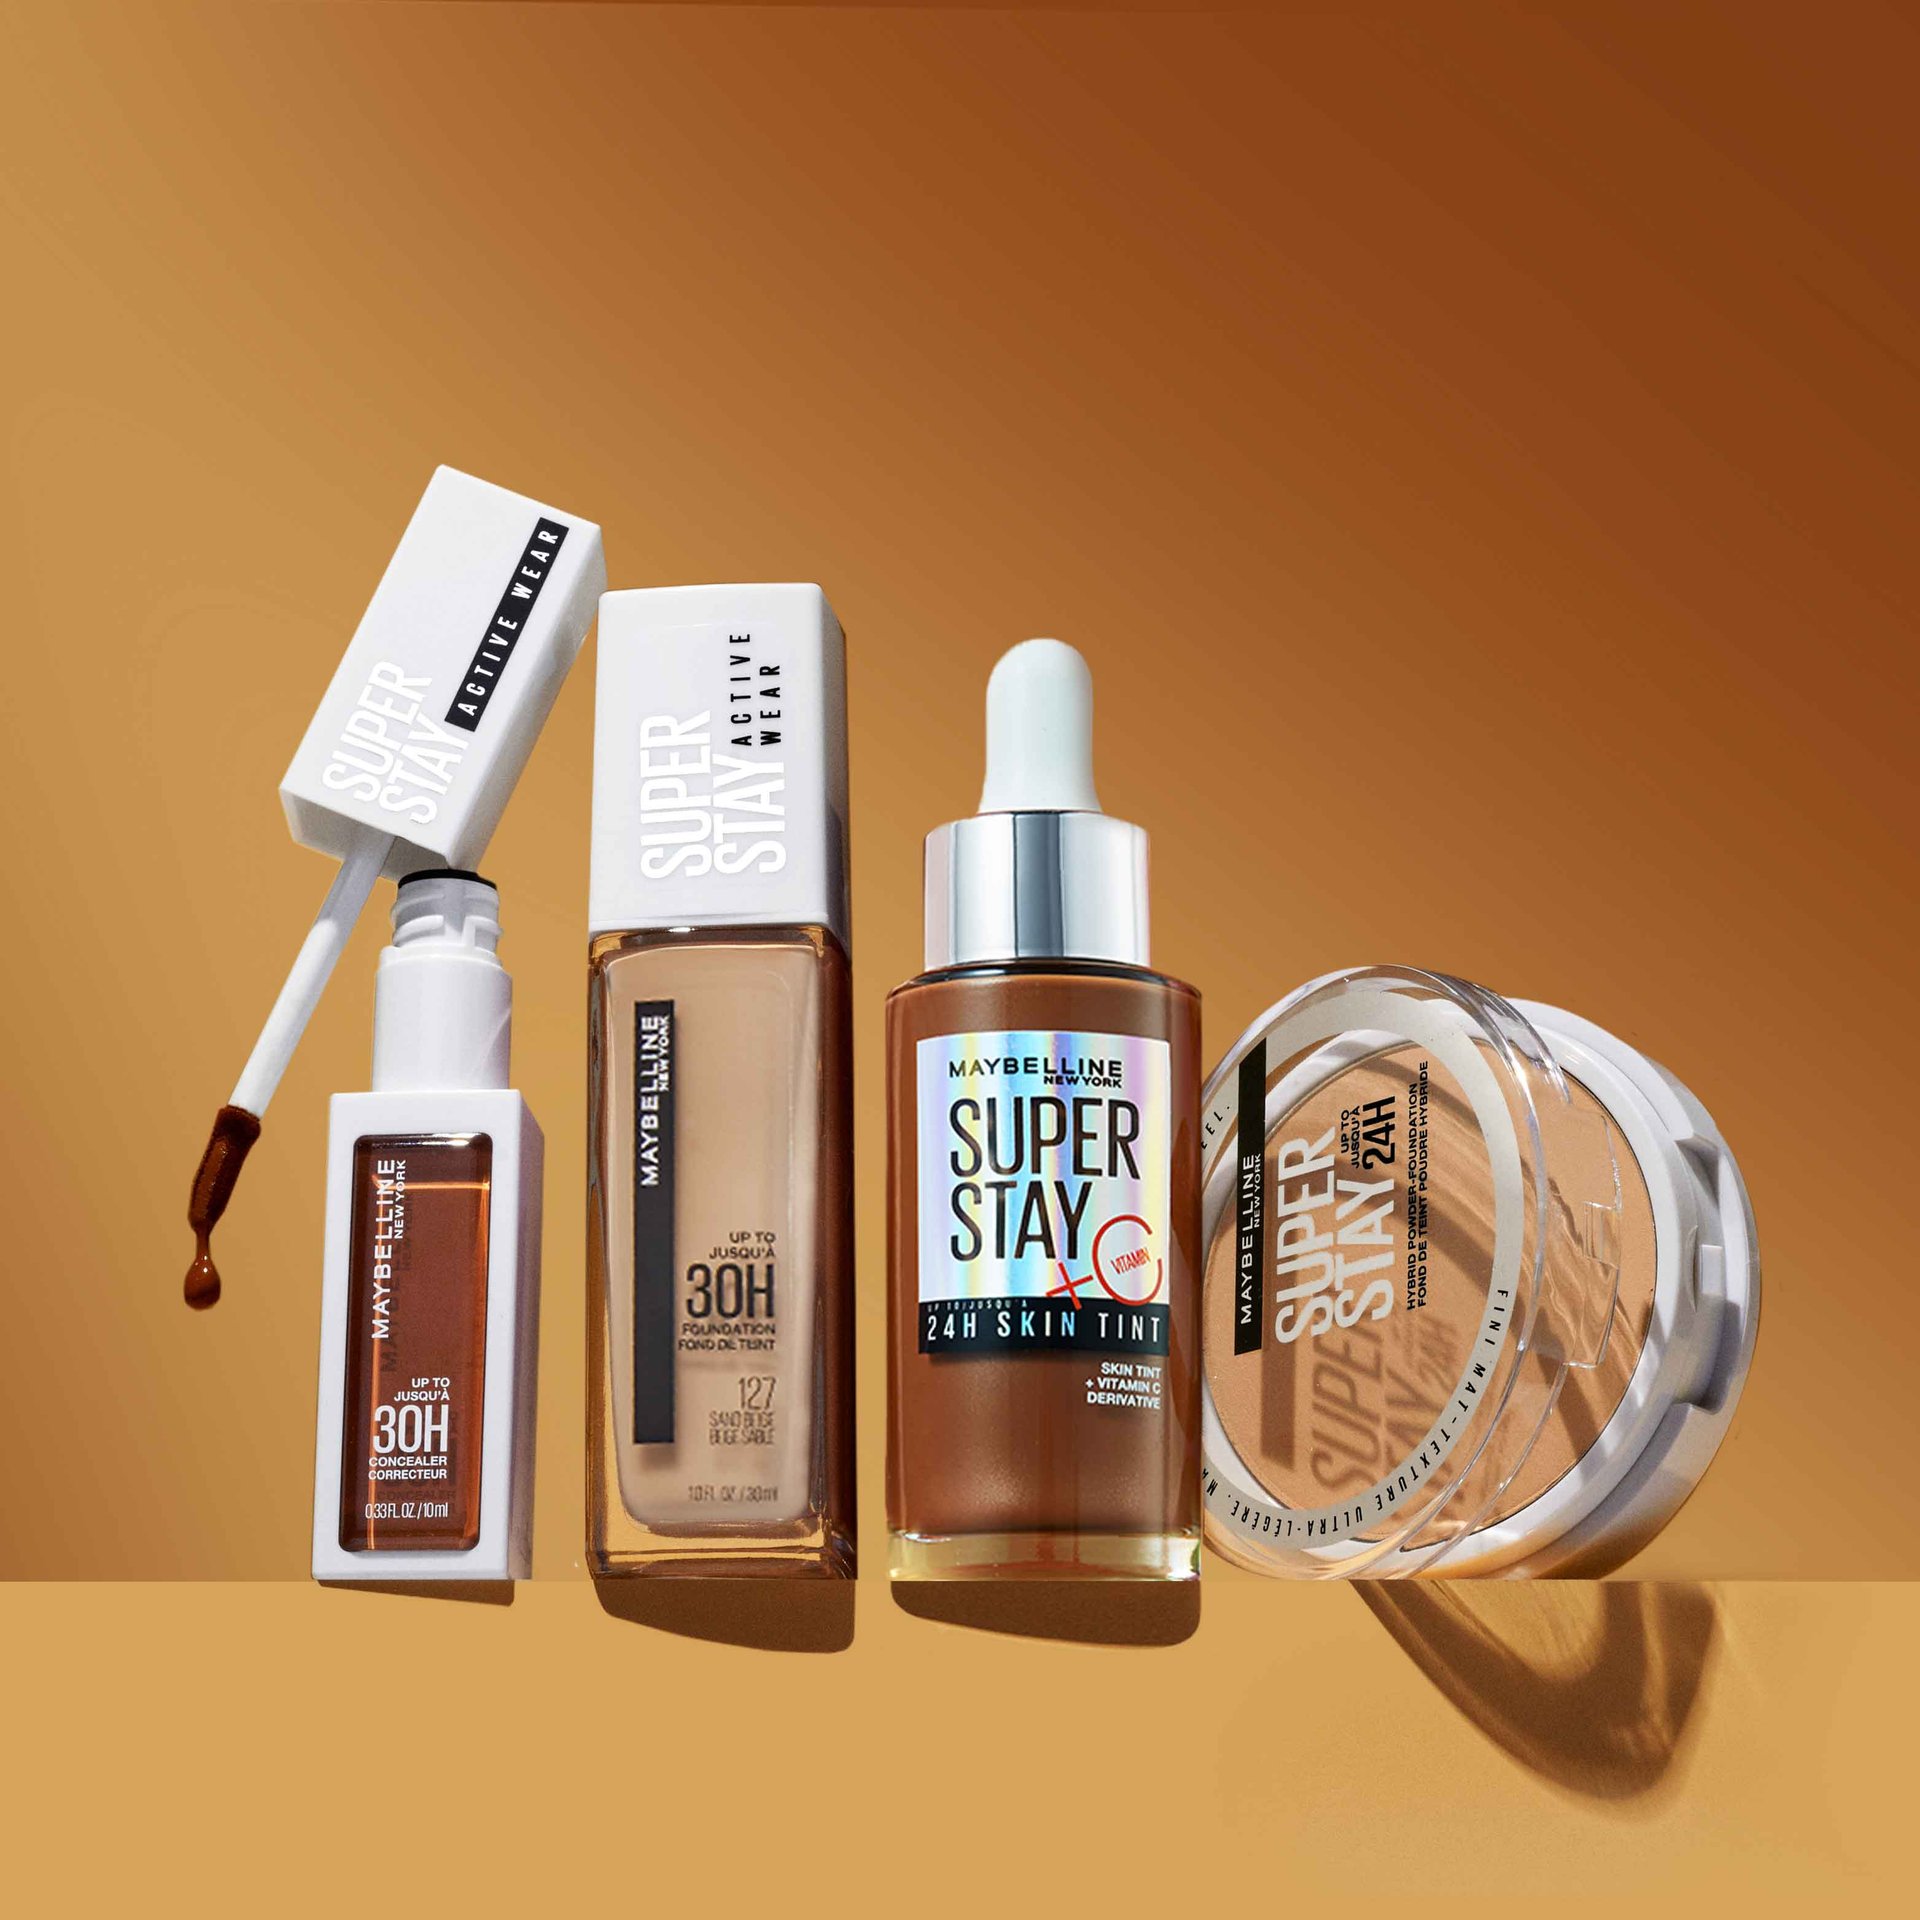
Compra productos de maquillaje para damas de honor
Echa un vistazo a todos los productos que usamos para crear un estilo de maquillaje para damas de honor hermoso y simple para que salgas impecable en todas las fotos.